
Create user roles and assign users to them
Group app users into roles such as Admin or Customer, then give each role its own pages, menus and data. Create, rename, delete and assign roles.
- Verified Nov 17, 2026
- Classic builder
On this page
A role is a group of app users who should see and do the same things, such as Admin, Dispatcher, Technician or Customer. Give pages, layouts, page sections and records access by role instead of by person, then put each user in the right role.
What roles control #
- Pages and layouts: let only some roles open a page, so each role gets its own portal in the same app.
- Parts of a page: show a section of a page only to some roles.
- Records: limit which records each role can see or change.
- Login: a Login component can let in only users with certain roles.
All roles share the same tables, so you keep one copy of your data and decide per role who sees which part of it.
Create a role #
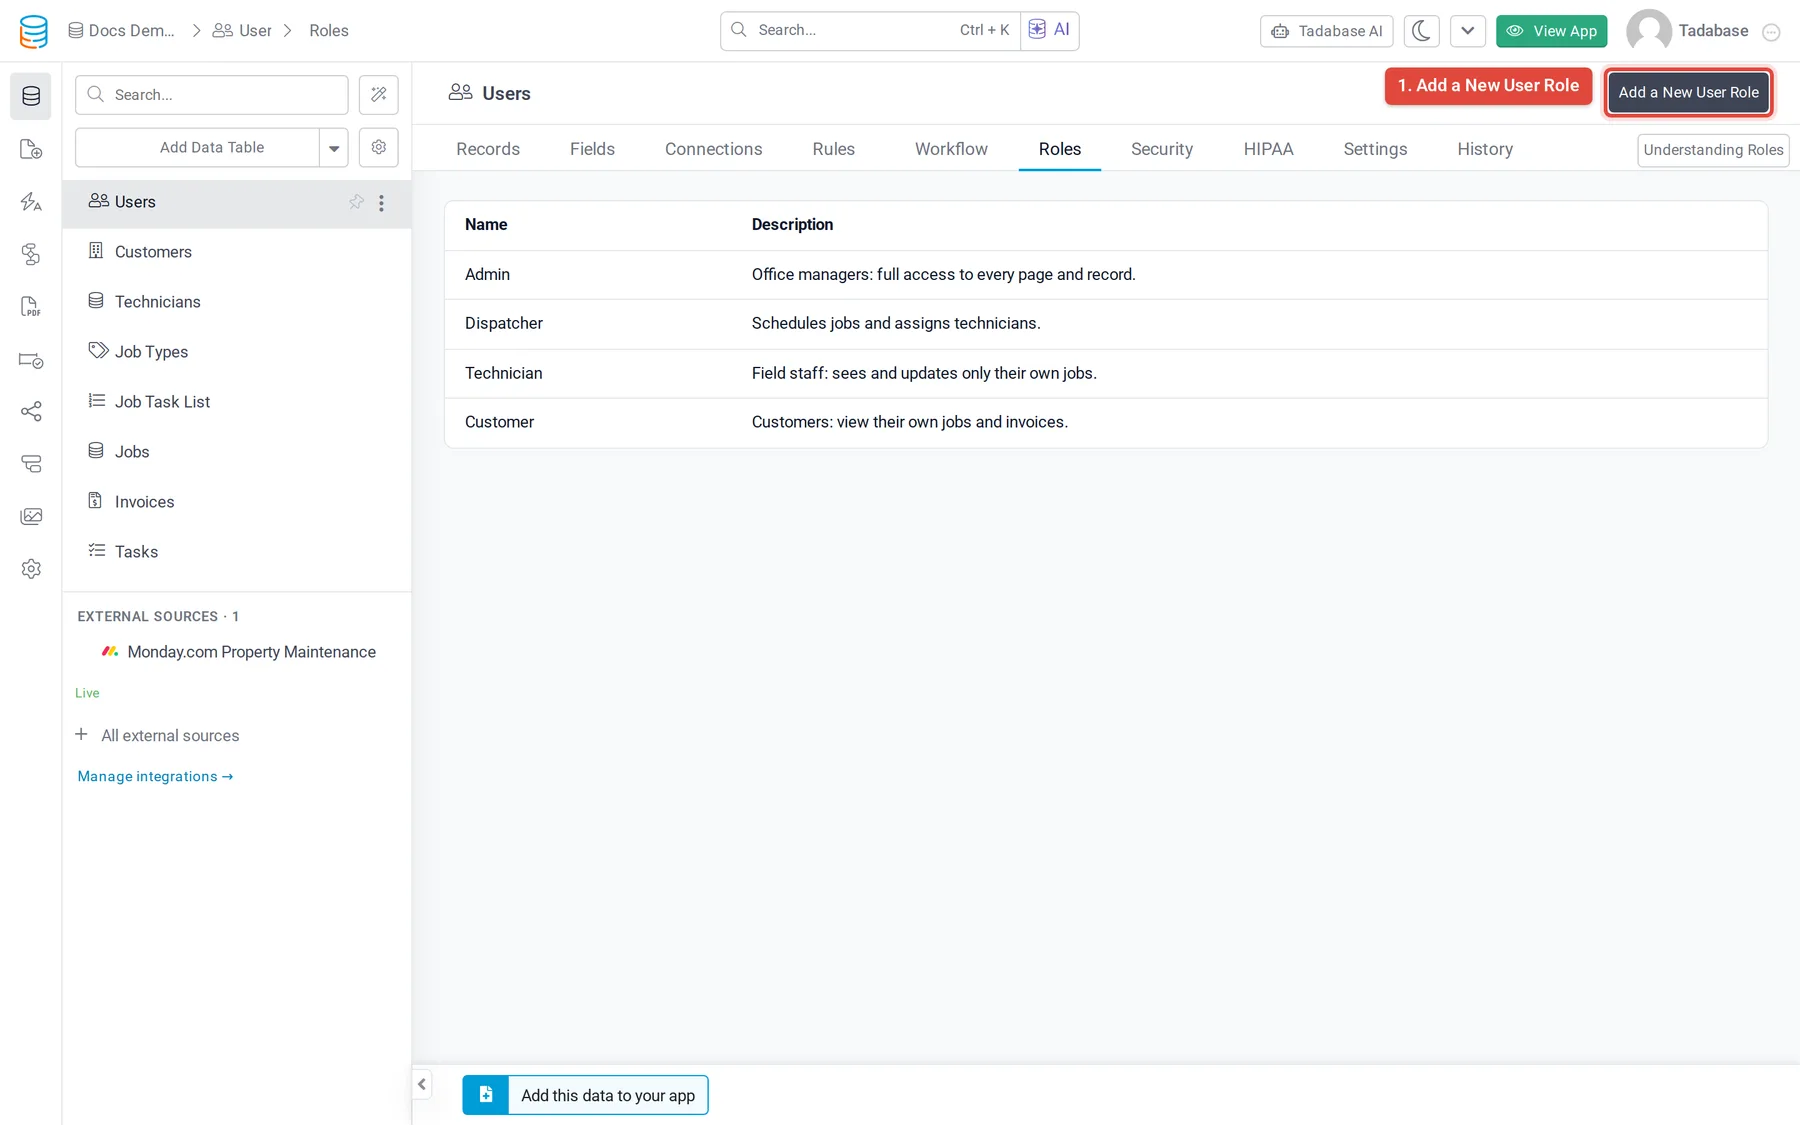
- Open the Roles tab In the Data Builder, open the Users table and go to the Roles tab. It lists every role with its name and description.
- Add the role Click Add a New User Role.
- Name it Enter a Name. Role names must be unique in the app. The Description is optional and only shows in the builder.
- Save Click Save in the bar at the bottom of the screen.
Rename or delete a role #
On the Roles tab, click the role's row to open it.
- To rename it, change the Name (or Description) and click Save. Users keep the role; only its name changes.
- To delete it, click Delete and confirm. Deleting a role removes it from every user who had it. The users themselves are not deleted, but pages, sections and logins that allowed that role no longer let them in through it.
Put users in a role #
A user's roles are stored in the Role field of the Users table. It's a connection to the app's roles, and a user can have more than one role: they get the access of each.
- In the builder: open the user's record in the Users table and choose the roles in Role.
- From the live app: add the Role field to a Form component on the Users table so an admin can set it.
Keep the Role field out of the Profile component and out of any form that ordinary users can reach, so users can't give themselves a higher role.
Next: give each role its access #
- Page and layout security: choose which roles can open each page or layout.
- Control which records each user can see: limit which records each role can see or change.
- Charge app users with Stripe subscriptions: tie a role to a paid plan.
Was this page helpful?
Something wrong or missing on this page? Tell us.