
Install a pipe from the pipe library
Find a ready-made pipe in the All Pipes library, fill the values it asks for, install it, and then set its API key and other values in the pipe editor.
- Verified Nov 17, 2026
- Classic builder
On this page
The pipe library holds ready-made pipes for Tadabase functions, the Tadabase REST API and third-party services. Install one when it already does what you need; to connect to a service that is not in the library, create a custom pipe instead.
Find a pipe #
- Open the library In the builder, click Pipes in the icon bar on the left. The All Pipes list opens. If you are editing a pipe, click Install Pipe in the side panel to get back to the list.
- Narrow the list Type in the Search... box, or open Choose Categories and pick one or more categories. Use Sort By to order the list by Most Popular, Name Ascending or Name Descending.
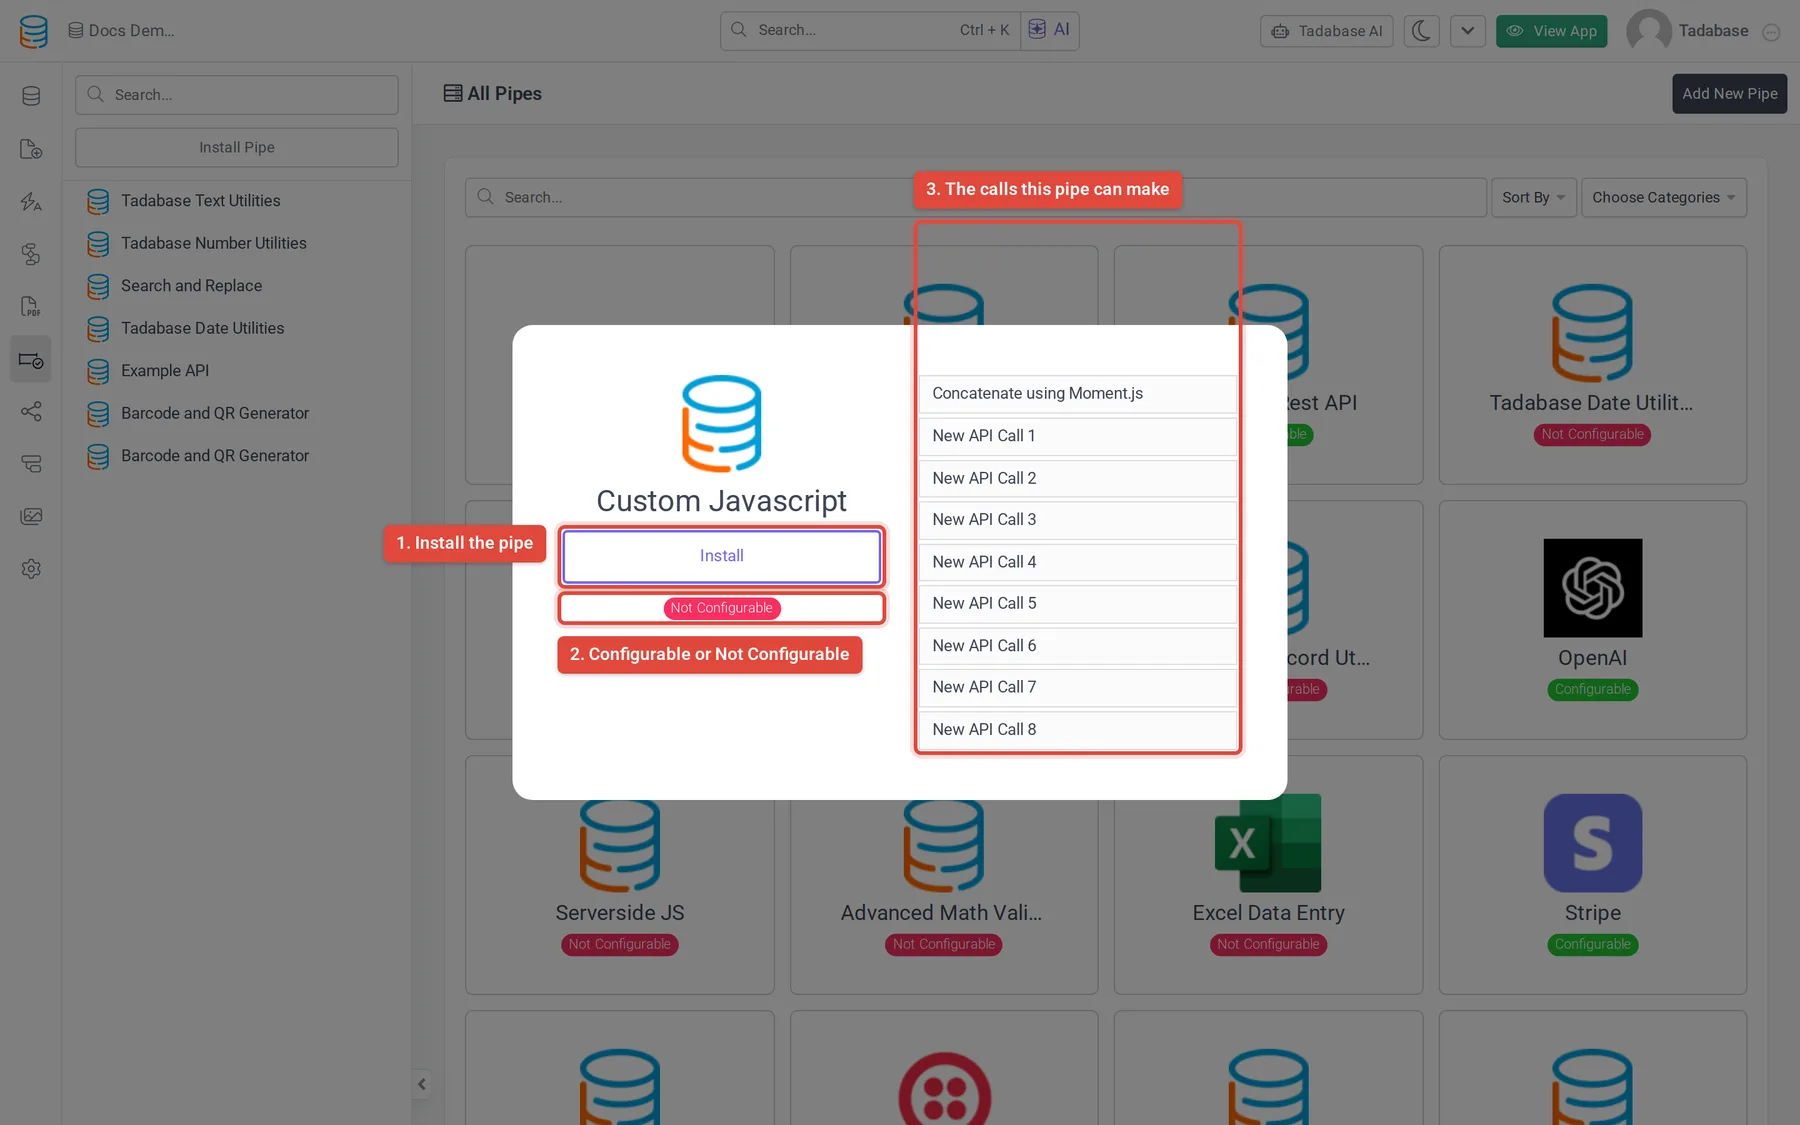
- Open a pipe Click a pipe's card. A window shows its description, a Documentation or Video Tutorial link when the pipe has one, its badge, and the Available Actions (the calls the pipe can make).
Can't find the pipe you need? Click Suggest a pipe at the bottom of the list to post the idea in the Tadabase community suggestion box.
Install it #
- Click Install In the pipe's window, click Install. Pipes that sign in to a service with OAuth show Authorize & Install instead: a sign-in window for that service opens, and the pipe installs once you allow access.
- Fill the values it asks for Some pipes need values before they can be installed, such as an API key. If so, the window changes to a form with those fields. Fields marked (required) must be filled; then click Install again. If a required field is empty, you see "Please enter all required fields".
- Check the pipe editor When the install finishes, the pipe appears in the side panel and its editor opens on the General tab.
What you can change after installing #
The badge on the pipe's card tells you how much of it you can edit.
| Badge | What you can change |
|---|---|
| Configurable | Everything. The pipe is copied into your app, so you can edit, copy or delete its calls on the API Calls tab and change Global Parameters and Global Headers, just as in a custom pipe. Changes to the library version later do not affect your copy. |
| Not Configurable | Only what the pipe's author allows. Usually that is the value of each global parameter, such as your API key. You cannot add calls, and each call shows only some of its tabs. Global Parameters and Global Headers appear only when the pipe lets you edit them. |
Set or change an API key #
- Open the pipe Click Pipes in the icon bar, then click the pipe's name in the side panel.
- Open Global Parameters Click the Global Parameters tab. For a Not Configurable pipe you see a Name and Value for each parameter; for a Configurable pipe you see the full parameter table with Default Value.
- Enter the value and save Type the new value, for example the API key from the service's account settings, and click Save.
To test the change, open the API Calls tab, pick a call, open its Test tab and click Test. The response and its status code appear below the button.
Turn off or remove a pipe #
- The switch at the top right of the pipe editor sets the pipe to Active or Inactive.
- To remove the pipe from your app, open its General tab and click Delete. Check first where it is used: see Run a pipe from a form, field, component or workflow.
Next #
An installed pipe runs only where you add it. See Run a pipe from a form, field, component or workflow. For pipe-specific settings, open the pipe's own page in this section, for example Text functions.
Was this page helpful?
Something wrong or missing on this page? Tell us.