
Generating PDFs
Let's look at making PDFs from a workflow: the two kinds, designing the page, keeping the file, and getting it to people safely.
On this page
Chapters
Read the docs
Transcript
Show the full transcript
0:00 Intro
Let's look at making PDFs from a workflow: the two kinds, designing the page, keeping the file, and getting it to people safely.
0:08 The idea
Think of a print shop. Hand them a form, and they fill in the blanks. Or hand them a layout, and they print a page with your details on it. Either way you get a finished document, and they keep a copy on file.
0:20 In your app
At Brookside Family Clinic, Ana Ruiz's appointment is marked Completed. A step prints her visit summary, and saves it to a secured file field on the appointment. Then an email tells her it's ready, with a portal link. The file never leaves the app.
0:38 Two kinds
Under Documents, there are two PDF steps. Create PDF Page prints a page you design, filled from one record. Create PDF Form fills in a PDF someone else made, like a school's own form.
0:53 Designing the page
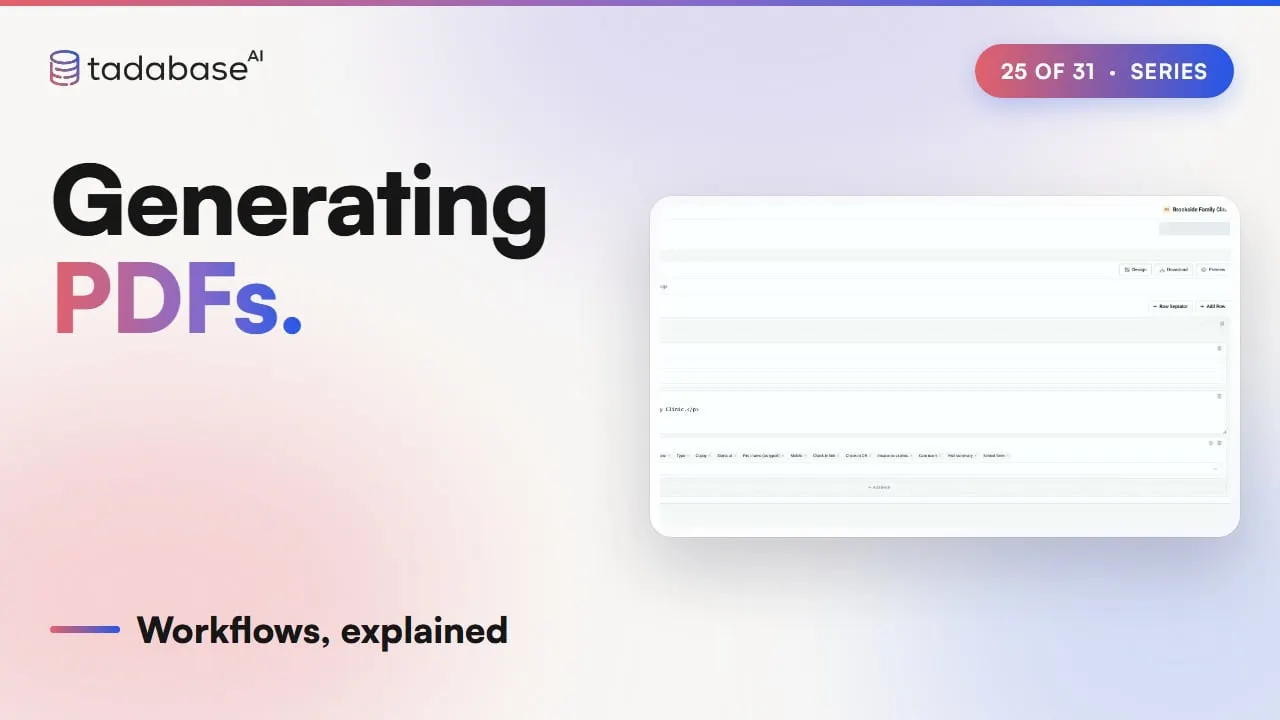
The page comes first. In the AI Builder, open PDFs, then PDF Pages, and click Add New PDF Page. Name it Visit summary. Set Data Table to Appointments, so every appointment gets its own copy. Then Create Page. On the Content tab, Add Row starts a row, and Add block fills it: an image for the logo, and HTML for a thank-you note. A Details block brings in the fields: patient, date, provider and the clinic's address. Preview shows it on a real appointment.
1:27 The PDF step
Now the workflow step. Record source is Source Record, the appointment that started the run. PDF Page lists only pages built on that record's table, so Visit summary is there. Every run prints a fresh copy for its own appointment.
1:44 Keeping the file
Under Output, Save file to puts the PDF in a field. Pick Visit summary. A File field holds one file, so the next print replaces it. A Files field can keep them all, with Append to existing files. Leave it empty, and only the later steps of this run can use it. For anything about a patient, turn on Secured when you add the file field. A secure file opens only where it's placed in your app. And on a Files field, you can limit it to a role, or to the user connected to the record.
2:17 Sending it
Then tell the patient, with Send Email from video twenty two. Your visit summary is ready. A button opens the portal, and there's no attachment. Ana signs in and opens the PDF from her appointment.
2:36 Filling a form
Some places send their own form. Sam Ortiz's school sends a sports physical form, as a fillable PDF. On PDF Forms, click Add New PDF Form, name it, and upload the file. In the designer, Form Fields reads the PDF's own fields: student name, exam date and provider. The signature line stays for the provider to sign. In the workflow, add Create PDF Form and pick the form. Field mappings lists every field in it. Student name gets the patient, exam date the appointment date, and provider the provider's name. Save it to a School form field, and each run fills a fresh copy.
3:17 Setting it up
Setting it up: the trigger is Record Updated on Appointments, when Status is Completed. Add a step, Action, Create PDF Page. Record source, Source Record. PDF Page, Visit summary. Save file to, Visit summary. Add Send Email with the portal link, then save, and it's live. The same steps fit any business. A contractor's estimate is marked Signed. The signed estimate prints as a PDF, and it's saved to the job, for whenever someone asks for it.
3:52 Rules
Three rules to keep track of. Rule one: design the PDF page first. With no page on the Appointments table, the PDF Page list is empty. Build the page on that table, and it shows up. Rule two: save it if you need it later. Without Save file to, the PDF is gone when the run ends. Tomorrow, the appointment has nothing. Pick a file field, and it stays with the record. Rule three: send a link, not the file. An attached PDF sits in an inbox and can be forwarded. A portal link opens it only after signing in. And keep the page to name, date, provider and place. That's PDFs. Design a page, or upload a form. Print it in a step, and save it to a secured field. Then send the link. Next, CSV, JSON and HTML tables. What each plan includes is on the pricing page at tadabase.com. ound6-orig.
Also on Vimeo · the whole series on Vimeo