
Manage records on a Kanban board
Add a Kanban board with one column per option of a Radio or Select field, and let people drag cards between columns to update records.
- Verified Nov 17, 2026
- Classic builder
On this page
A Kanban board shows records as cards in columns, one column for each option of a Radio or Select field such as a job's Status. Dragging a card to another column changes that field on the record.
Before you start #
The table needs a Radio or Select field whose options are the stages, for example Status with the options New, Scheduled, In Progress and Completed. That field becomes the board's columns.
Add a Kanban board #
- Open the page In the Page Builder, open the page and its Content tab. Click the Components tab in the left panel.
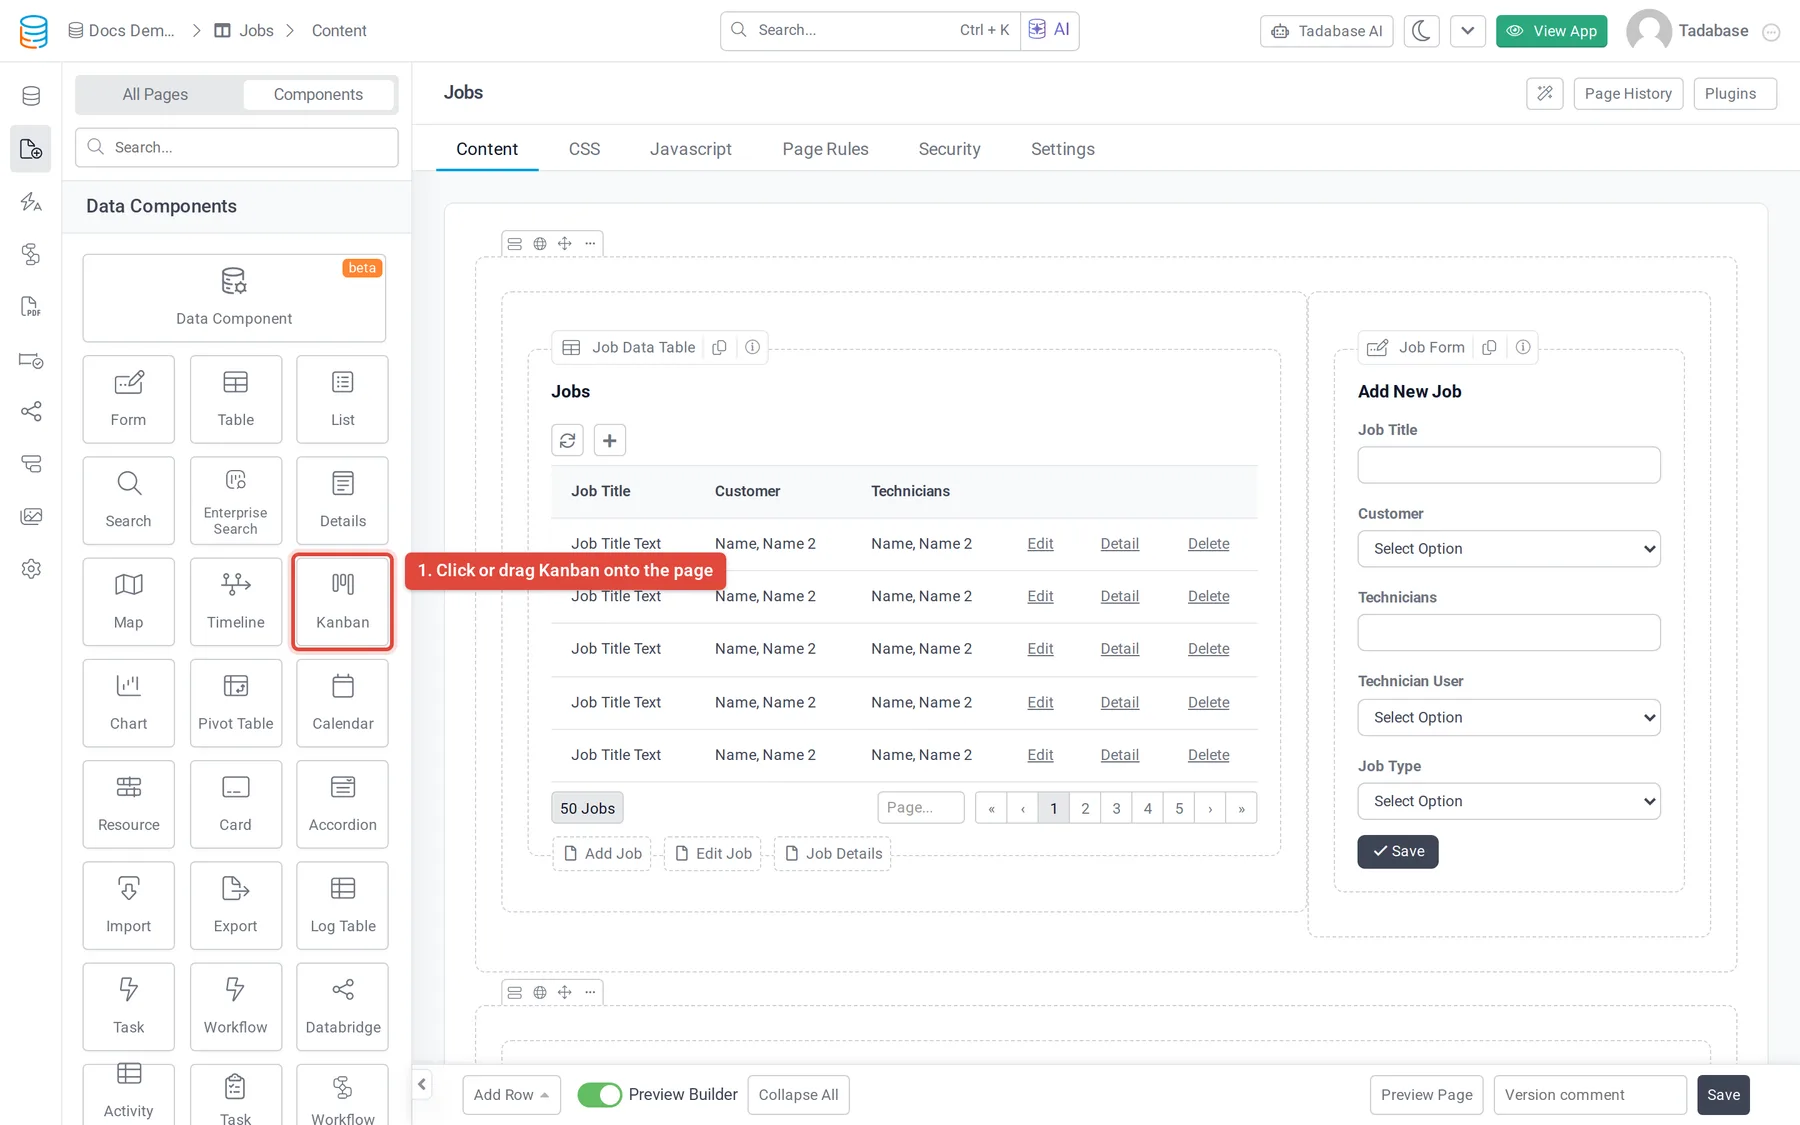
- Add the Kanban Under Data Components, click Kanban or drag it into a column.
- Choose the records Answer Which records would you like to display in the Kanban? by selecting a table, or records connected to the page's record or to the logged-in user. See Choose which table and records a component shows.
- Quick Add or Customize Click Quick Add to add the board with default settings, or Customize to set it up first.
- Pick the column field On the Options tab, set Kanban Field to the Radio or Select field. Its options become the columns on the Kanban Columns tab.
- Save Click Update & Close.
The settings window has six tabs: Data Source, Fields, Kanban Columns, Filters, Options and Design.
Choose what each card shows #
On the Fields tab you lay out one card; every record's card uses the same layout. Click fields on the left to add them, and arrange them in rows and columns. The left panel also has:
- Actions: buttons that act on the record, such as Send an Email or Trigger Workflow (when your app uses workflows).
- Links: Edit Link, Delete Link, Record Details Page, Connected Page and Record History. See Links in components.
- Connected Fields: fields from tables the record is connected to.
Set up the columns #
The Kanban Columns tab lists one row per option of the Kanban Field, plus Uncategorized for records with no value. For each column:
- Title: the column heading. It starts as the option's text.
- Color: a color for the column, or Default.
- Visibility: Show or Hide the column.
- Drag a row by its handle to change the order of the columns.
Board options #
| Option | What it does |
|---|---|
| Title | A title shown above the board. |
| Kanban Field | The Radio or Select field that sorts records into columns. |
| Card Cover Field | An Image or Files field whose picture is shown at the top of each card. |
| No Records Found Text | Text shown when there are no records. |
| Kanban Height | The board's height in pixels (600 for a new board). |
| Show Column Count | Shows how many cards are in each column. |
| Column Width | The width of each column. Click the unit to switch between px and %. With percentages, leave room for the spacing between columns. |
| Enable Inline Editing | Lets people edit field values on the cards in place. See Inline editing. |
| Enable Drag and Drop | On by default. Lets people drag cards between columns. |
What happens when a card is dragged #
Dropping a card in another column saves the record with that column's option as the Kanban Field value. Dropping it in Uncategorized clears the value. The change is saved straight away; there is no separate save step. To stop people moving cards, turn off Enable Drag and Drop.
Sort and filter the cards #
- Data Source > Data Table: set Sort By for the order of cards in each column, and Limit Records (All Records or Limited Records).
- Data Source > Filters: click Add New Filter Group to show only some records. See Choose which records a component shows.
- Filters: turn on Filter Tabs to show tabs above the board that people click to filter it.
The Design tab sets the component's fonts, background, border, spacing and CSS.
Was this page helpful?
Something wrong or missing on this page? Tell us.