
Let users import records from the live app
Add an Import component so people using your app can upload a CSV file and add or update records through one of your import templates.
- Verified Nov 17, 2026
- Classic builder
On this page
The Import component puts an import button on a page, so people using your app can add records from a CSV file without opening the builder. The file's columns are mapped to fields by an import template you set up in the Data Builder.
To import records yourself in the builder, see Import records in the builder.
Before you start #
Create an import template for the table first. The component only lists tables that have an import template or an import connector; with none, it says There are no data tables with import templates added to this app yet.
Add the Import component #
- Add the component In the Page Builder, click Add Component in a column and choose Import under Data Components.
- Choose the table Under Select the data table to be used for import:, pick the table, then click Customize.
- Choose the template On the Data Source tab, leave Import Type on Template and choose the Import Template.
- Set the options On the Options tab, set the title, the button text, the delimiter and record matching (see below).
- Save Click Update & Save.
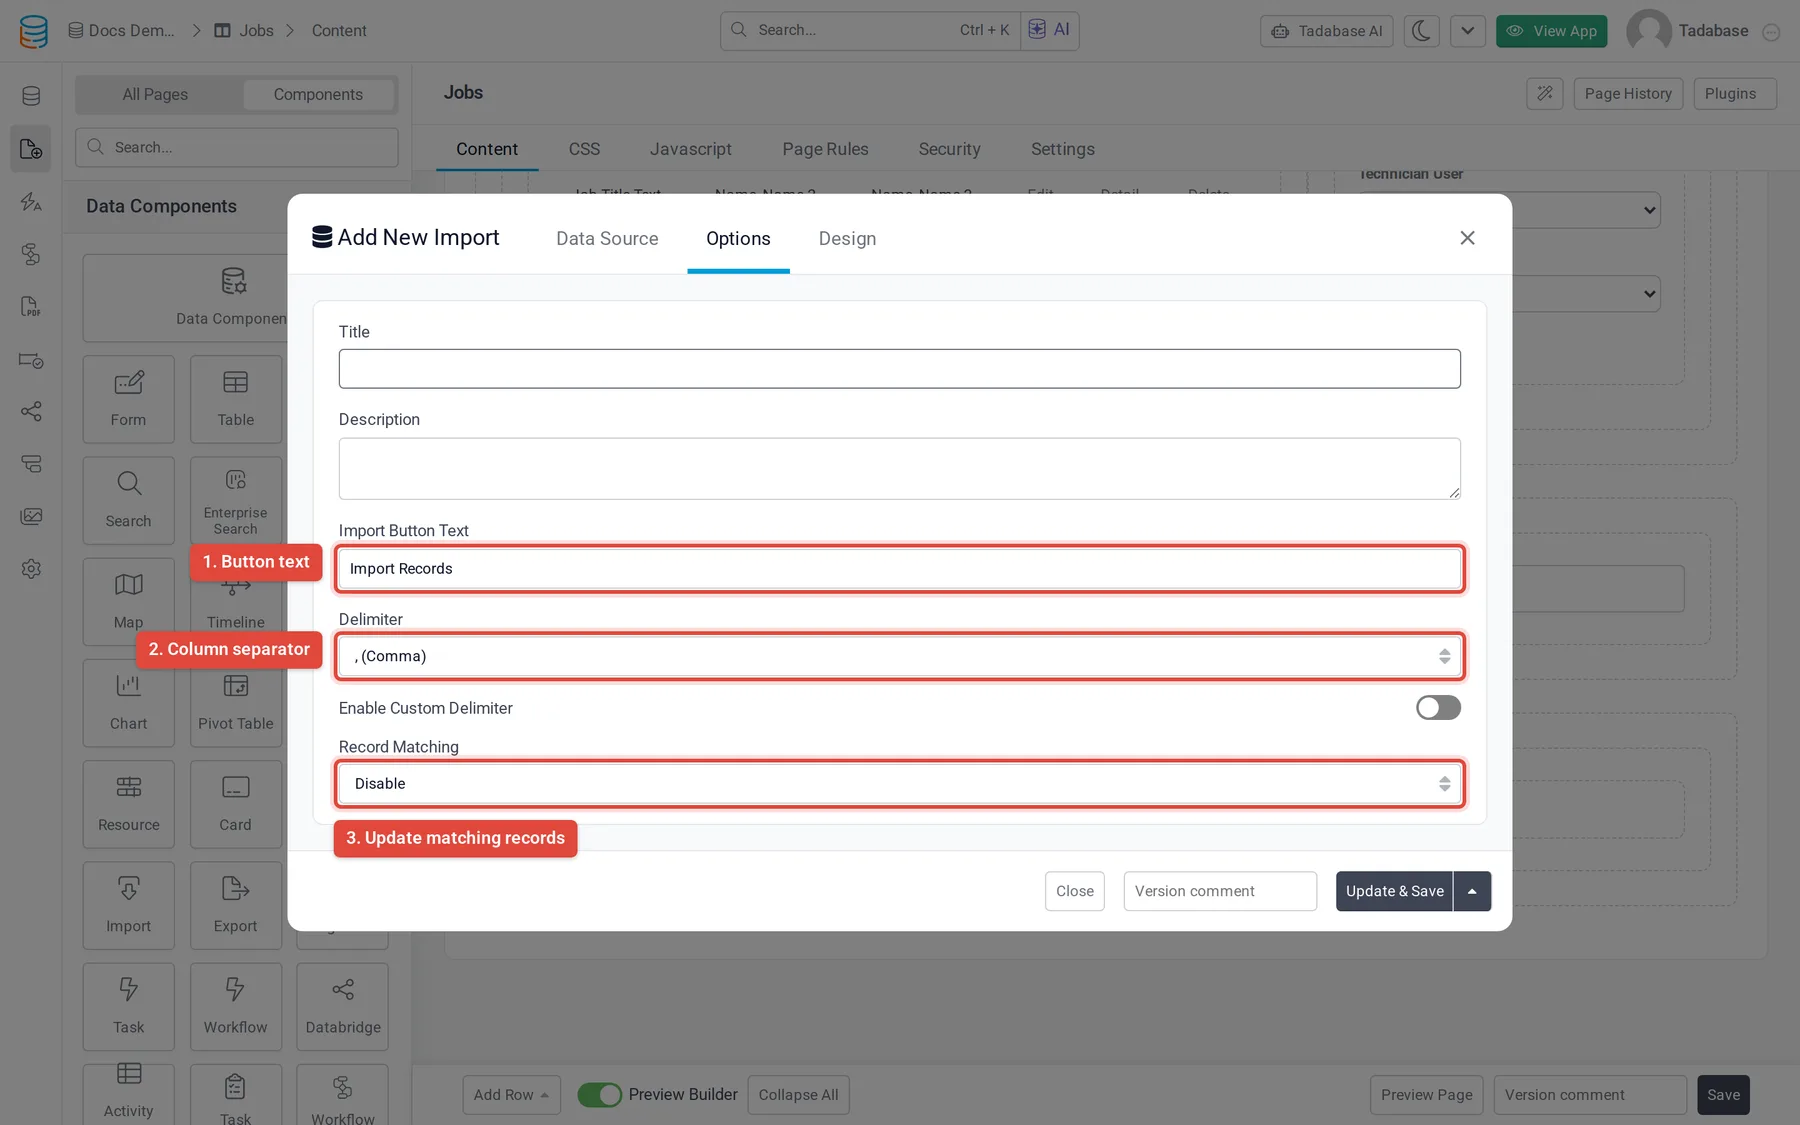
Options #
| Option | What it does |
|---|---|
| Title and Description | Text shown above the import button. |
| Import Button Text | The button's label. Default: Import Records. |
| Delimiter | The character that separates columns in the file: , (Comma) (default), : (Colon), = (Equals Sign), ; (Semicolon), Tab or Custom. |
| Enable Custom Delimiter | Lets the person choose the delimiter each time they import. |
| Record Matching | Disable (default) adds every row as a new record. Enable lets the person pick a field to match on, so matching records are updated. Pre Defined matches on the Record Matching Field you choose. |
When a row matches an existing record on the match field, that record is updated with the row's values. A row with no match is added as a new record. Use a field with unique values, such as an Auto Increment field, as the match field.
What people see in the app #
- Open the import They click the import button. The Import new records window opens.
- Choose the file Under Select CSV File, they choose a
.csvfile. If you turned on Enable Custom Delimiter, they also pick the Delimiter. - Choose a match field (if allowed) With Record Matching set to Enable, they choose a field under Select a field to match records, or Don't match, add all imported. They can tick Case Sensitive.
- Match the column When records are matched, the next step, Select your match column, shows the file's columns: they tick Match under the column that holds the match field's values.
- See the result The window shows how many records were imported and how many failed. Show Log Table lists each row with its result and message.
Larger files are imported in the background. The component then shows the import's progress above the button.
Run an import connector instead #
If the table has an import connector, you can set Import Type to API Connector and choose the Import Connector. The button then runs the connector straight away; people do not upload a file.
| Setting | Choices |
|---|---|
| Record Handling | Insert each row as a new record, Update existing records if a match is found or Skip existing records if a match is found. |
| Match rules | For update or skip: pairs of Imported Column = Tadabase Field. Click Add Rule for more pairs. |
| What if no matching record is found? | For update: Insert the row as a new record or Skip the row and do nothing. |
Was this page helpful?
Something wrong or missing on this page? Tell us.